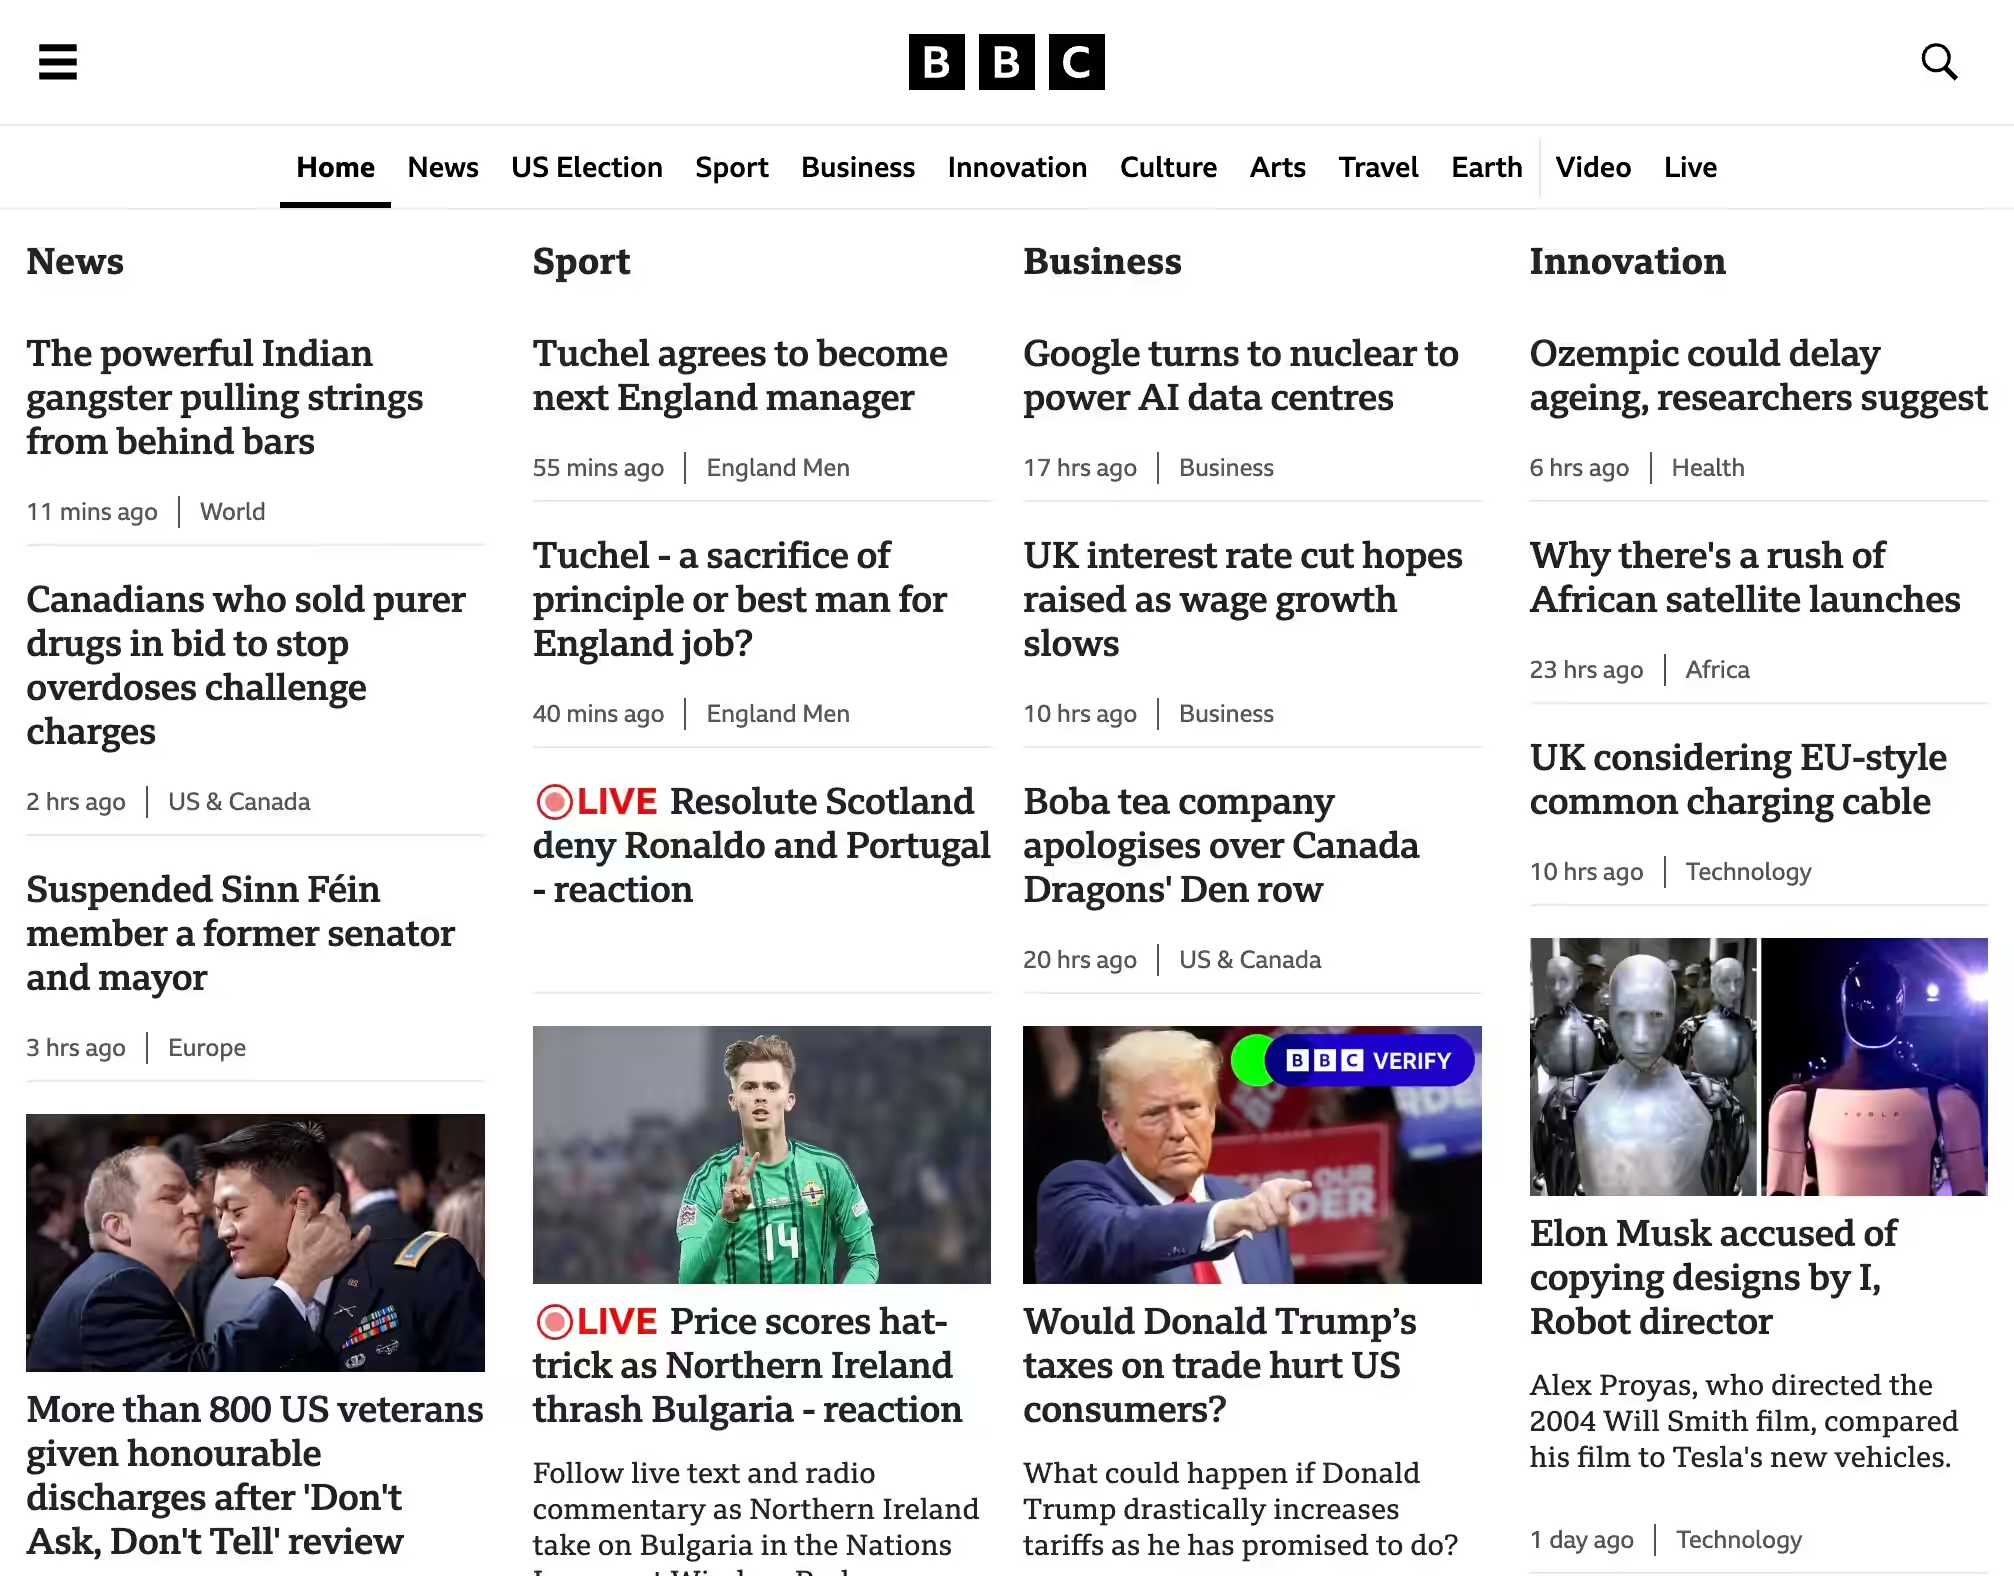
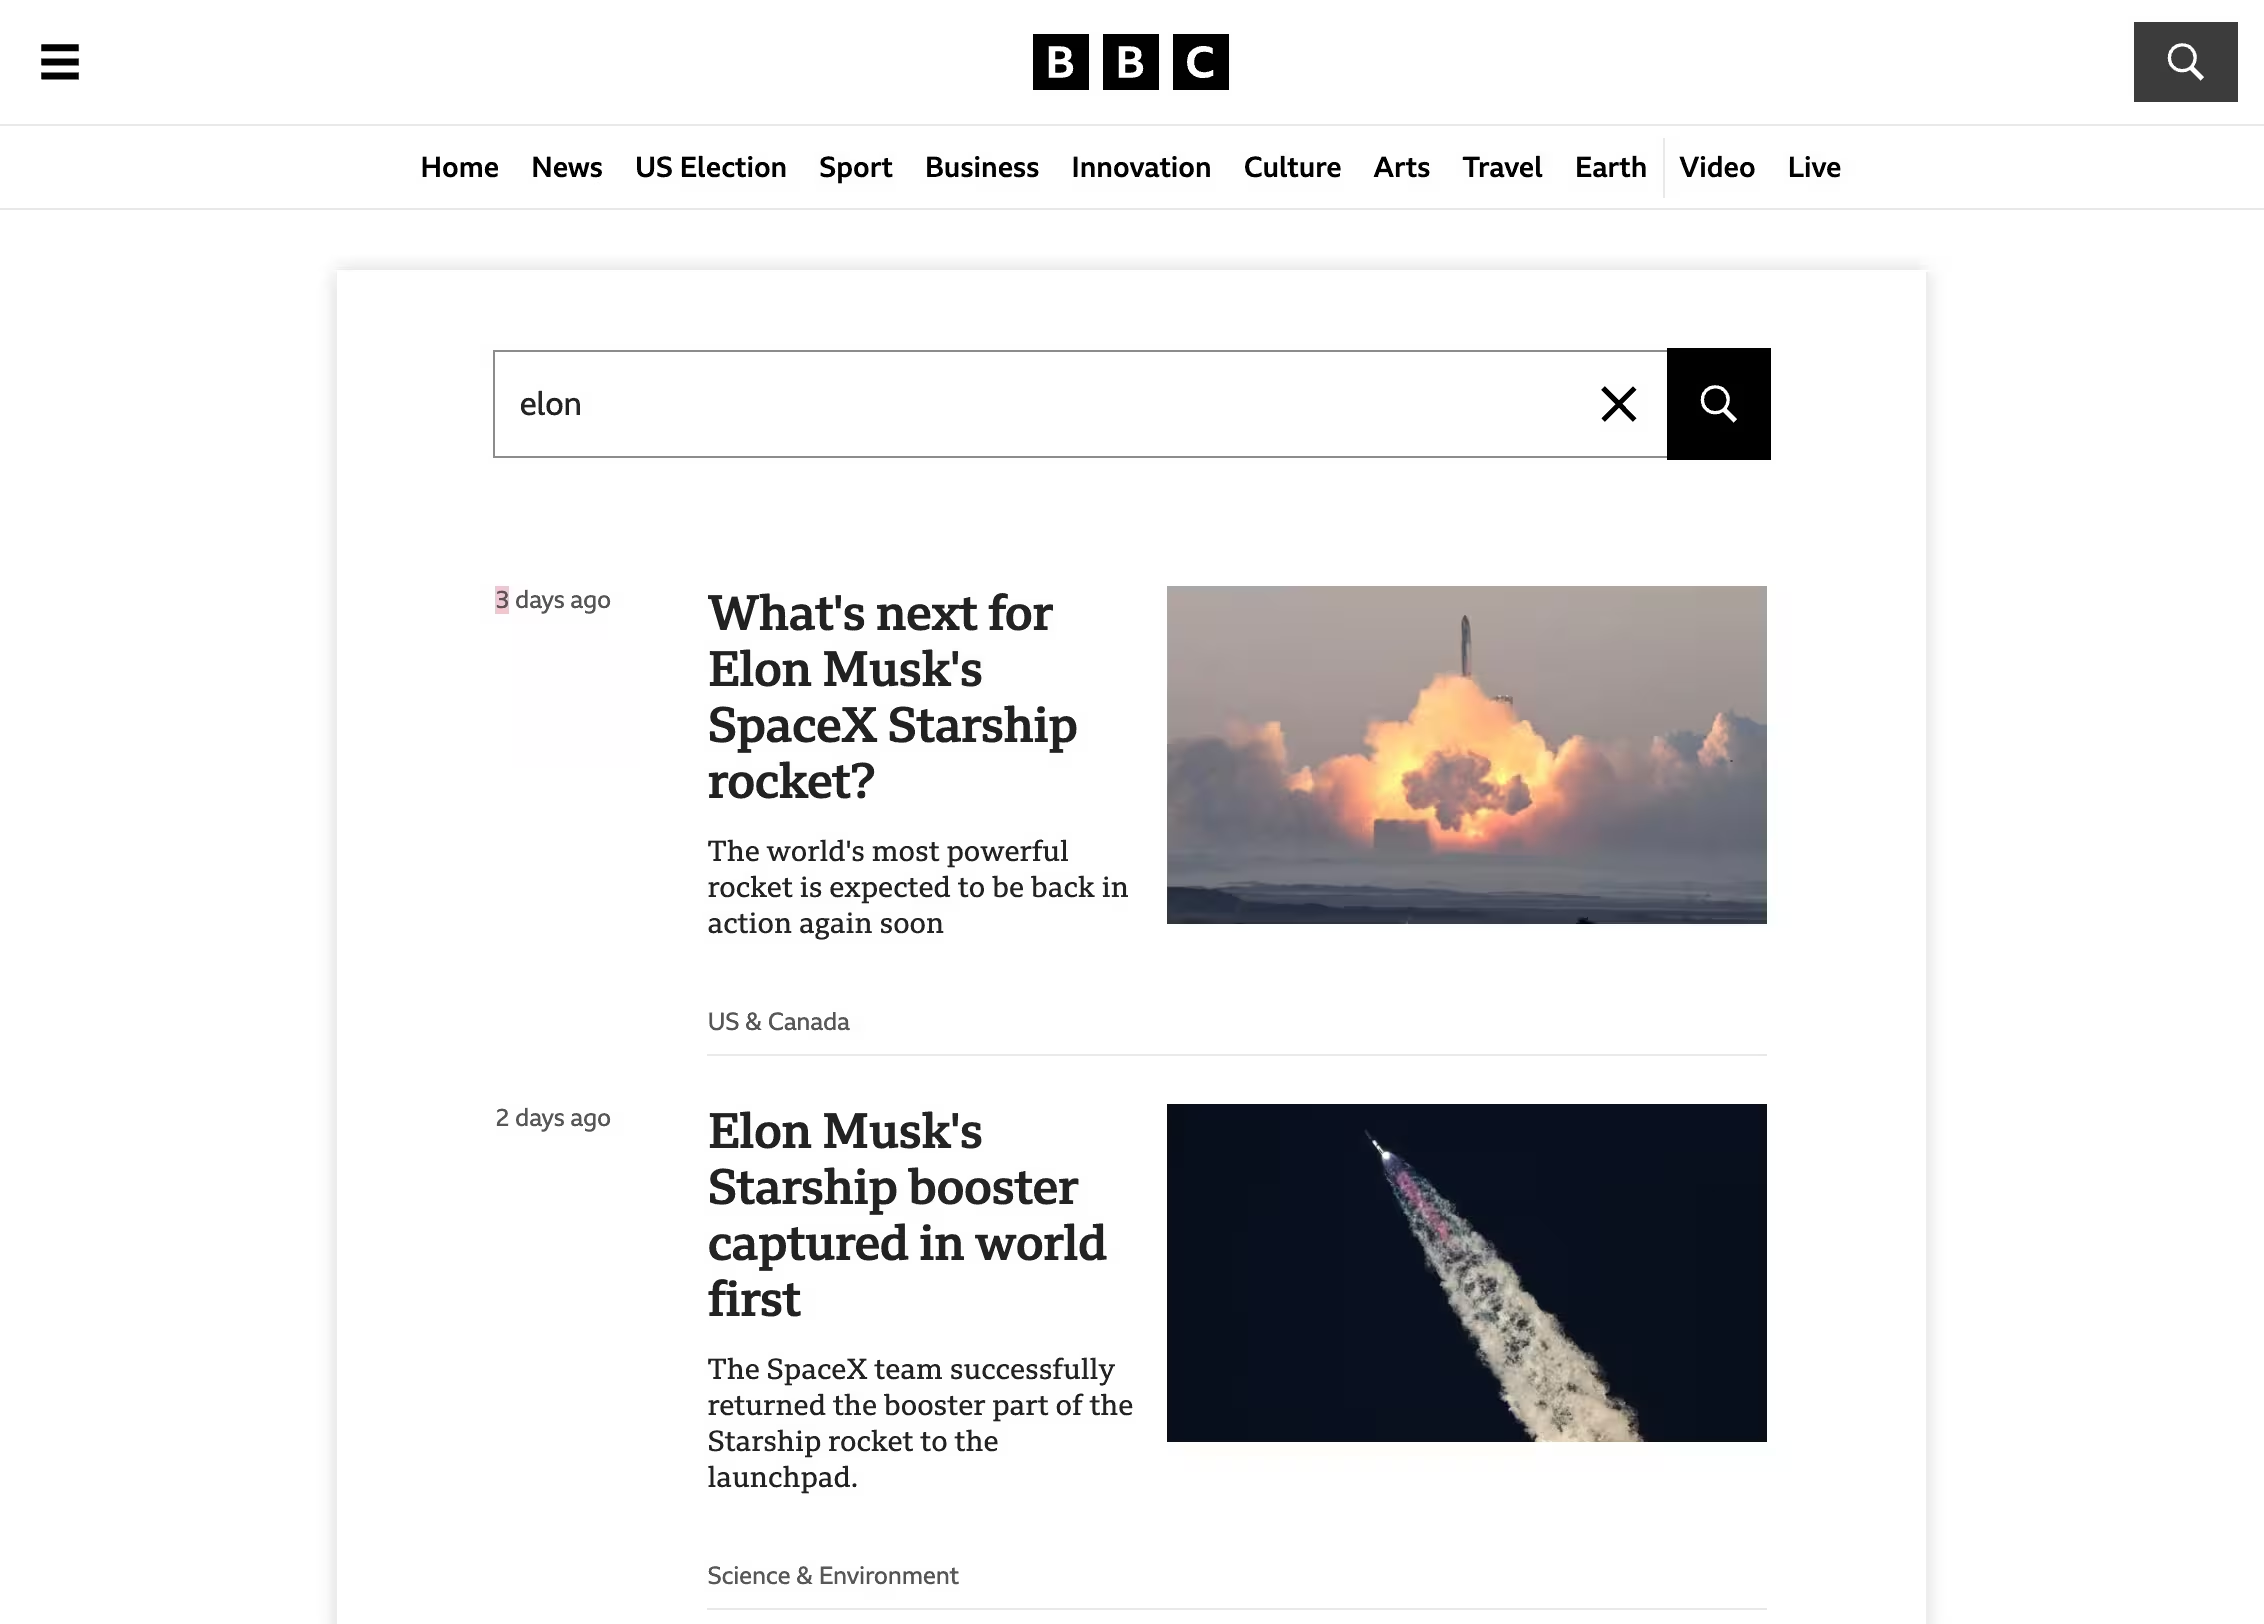
2.4 Web components
2.4.1 Introducción:
- Son elementos HTML modulares, encapsulados y reutilizables.
- Basados en estándares web, funcionan en cualquier navegador moderno (Firefox, Safari, Chrome, etc.).
- Evitan la necesidad de desarrollar modelos de componengoogletes propios en frameworks.
- Casos de uso principales:
- Crear UI reutilizable.
- Componer aplicaciones completas.
- Agregar interactividad a páginas estáticas.
Requisitos
- Navegador compatible.
- Conocimientos básicos de HTML, CSS, JS.
- Familiaridad con módulos JS y funciones de flecha.
Lo que aprenderás
- Elementos personalizados (Custom Elements).
- Plantillas (Templates).
- Shadow DOM.
2.4.2 Setup:
To get started, let's create a basic HTML page:
<html>
  <body>
    <h1>Hello world!</h1>
  </body>
</html>
2.4.3 Custom Elements
Definición: Permiten crear etiquetas HTML personalizadas, como <cool-heading>, que el navegador no reconoce por defecto.
Ejemplo:
<cool-heading>
  <h1>Hello world!</h1>
</cool-heading>
Funcionalidad:
- El navegador renderiza etiquetas desconocidas como elementos en línea.
- Se utiliza el Custom Elements API para definir el comportamiento de estas etiquetas.
Creación de un Custom Element:
- Definir una clase que extienda
HTMLElement:class CoolHeading extends HTMLElement {
connectedCallback() {
console.log('cool heading connected!');
}
}
- Registrar el elemento:
customElements.define('cool-heading', CoolHeading);
Código Final:
<!DOCTYPE html>
<html>
<body>
<cool-heading>
<h1>Hello world!</h1>
</cool-heading>
<script>
class CoolHeading extends HTMLElement {
  connectedCallback() {
    console.log('cool heading connected!');
  }
}
customElements.define('cool-heading', CoolHeading);
</script>
</body>
</html>
2.4.4 Customizing our element
Propósito: Aprender a personalizar un elemento personalizado para que realice acciones útiles.
Ciclo de Vida del Elemento:
- connectedCallback(): Se llama cuando el elemento se conecta al DOM; puede llamarse múltiples veces.
- disconnectedCallback(): Se llama cuando el elemento se desconecta del DOM.
Ejemplo de Clase:
class MyElement extends HTMLElement {
constructor() {
super();
}
connectedCallback() {
}
disconnectedCallback() {
}
}
Agregar Estilos: Puedes añadir estilos directamente a tu elemento en connectedCallback():
class CoolHeading extends HTMLElement {
connectedCallback() {
this.style.color = 'blue';
}
}
Manejo de Eventos:
- Agrega un listener para cambiar el color al hacer clic:
class CoolHeading extends HTMLElement {
constructor() {
super();
this.addEventListener('click', () => {
this.style.color = 'red';
});
}
connectedCallback() {
this.style.color = 'blue';
}
}
Código Completo:
<cool-heading>
  <h1>Hello world!</h1>
</cool-heading>
<script>
  class CoolHeading extends HTMLElement {
    constructor() {
      super();
      this.addEventListener('click', () => {
        this.style.color = 'red';
      });
    }

    connectedCallback() {
      this.style.color = 'blue';
    }
  }
  customElements.define('cool-heading', CoolHeading);
</script>
AttributesChangedCallback: Se llama cuando un atributo personalizado cambia.
- observedAttributes: Lista de atributos a observar.
- attributeChangedCallback(name, oldValue, newValue): Lógica para manejar cambios de atributos.
<cool-heading color="red">
<h1>Hello world!</h1>
</cool-heading>
<script>
class CoolHeading extends HTMLElement {
constructor() {
super();
}
connectedCallback() {
this.style.color = this.getAttribute('color');
}
static get observedAttributes() {
return ['color'];
}
attributeChangedCallback(name, oldValue, newValue) {
this.style.color = newValue;
}
}
customElements.define('cool-heading', CoolHeading);
setTimeout(() => {
document.querySelector('cool-heading').setAttribute('color', 'blue');
}, 2000);
</script>
2.5 Templating
Propósito: Usar elementos de plantilla (<template>) para definir estructuras HTML dentro de los Web Components, permitiendo la clonación eficiente y la actualización del contenido.
Ventajas de <template>:
- Define la estructura de HTML de antemano.
- Clona contenido en lugar de recrearlo, mejorando el rendimiento.
- El contenido dentro de
<template> es inerte (no se muestra, no se descargan imágenes ni se ejecutan scripts).
Uso de <template>:
Definir la plantilla:
<template>
  <h1>Hello world!</h1>
</template>
Actualizar connectedCallback() para usar la plantilla:
connectedCallback() {
const template = document.querySelector('template');
const clone = document.importNode(template.content, true);
this.appendChild(clone);
}
Ejemplo Completo:
<!DOCTYPE html>
<html>
  <body>
    <template>
      <h1>Hello world!</h1>
    </template>

    <cool-heading></cool-heading>

    <script>
      class CoolHeading extends HTMLElement {
        constructor() {
          super();
          this.addEventListener('click', () => {
            this.style.color = 'red';
          });
        }

        connectedCallback() {
          const template = document.querySelector('template');
          const clone = document.importNode(template.content, true);
          this.appendChild(clone);
        }
      }
      customElements.define('cool-heading', CoolHeading);
    </script>
  </body>
</html>
Recomendación: Para simplificar el uso de plantillas, considera usar bibliotecas como lit-html y lit-element, que facilitan el manejo de plantillas y ofrecen más funcionalidades.
2.6 Shadow DOM
Propósito: Proporcionar encapsulación de estilos y estructura dentro de un componente, evitando conflictos en el contexto global de HTML y CSS.
Características:
- El Shadow DOM crea un "root" especial que envuelve los elementos de un componente.
- Los estilos definidos dentro del shadow root no afectan al DOM externo, y viceversa.
- No se pueden seleccionar elementos dentro del shadow root con
querySelector() normal.
Uso de Shadow DOM:
Crear un Shadow Root:
connectedCallback() {
const template = document.querySelector('template');
const clone = document.importNode(template.content, true);
this.attachShadow({ mode: 'open' });
this.shadowRoot.appendChild(clone);
}
Ejemplo de Plantilla con Estilos:
<template>
  <style>
    h1 {
      color: red; // Estilo solo aplicable dentro del shadow DOM
    }
  </style>
  <h1>Hello world!</h1>
</template>
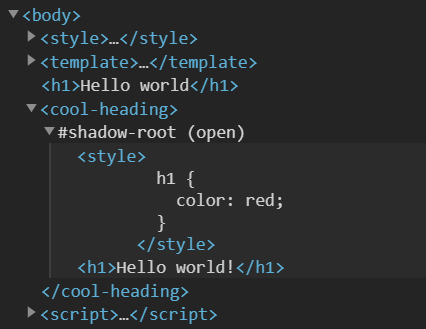
Encapsulación en Acción:
Si agregas contenido fuera del componente:
<h1>Hello world!</h1>
<cool-heading></cool-heading>
- Los estilos de
<cool-heading> no afectan al <h1> externo.
Agregar estilos globales no afecta al contenido dentro del shadow DOM:
<style>
  h1 {
    color: pink; // Estilo global
  }
</style>
Propiedades Heredadas:
- Algunas propiedades CSS, como fuentes y colores, se heredan a través del shadow root desde elementos padre.
Ejemplo Completo:
<!DOCTYPE html>
<html>
  <body>
    <style>
      body {
        font-family: monospace;
      }
      h1 {
        color: pink;
      }
    </style>

    <template>
      <style>
        h1 {
          color: red; // Estilo interno
        }
      </style>
      <h1>Hello world!</h1>
    </template>

    <h1>Hello world</h1>
    <cool-heading></cool-heading>

    <script>
      class CoolHeading extends HTMLElement {
        constructor() {
          super();
          this.addEventListener('click', () => {
            this.style.color = 'red';
          });
        }

        connectedCallback() {
          const template = document.querySelector('template');
          const clone = document.importNode(template.content, true);
          this.attachShadow({ mode: 'open' });
          this.shadowRoot.appendChild(clone);
        }
      }

      customElements.define('cool-heading', CoolHeading);
    </script>
  </body>
</html>
Ejemplo de Shadow DOM:
2.7 Web Components en la práctica
- Uso general: Muchas empresas y proyectos están implementando Web Components. A continuación, algunos ejemplos destacados:
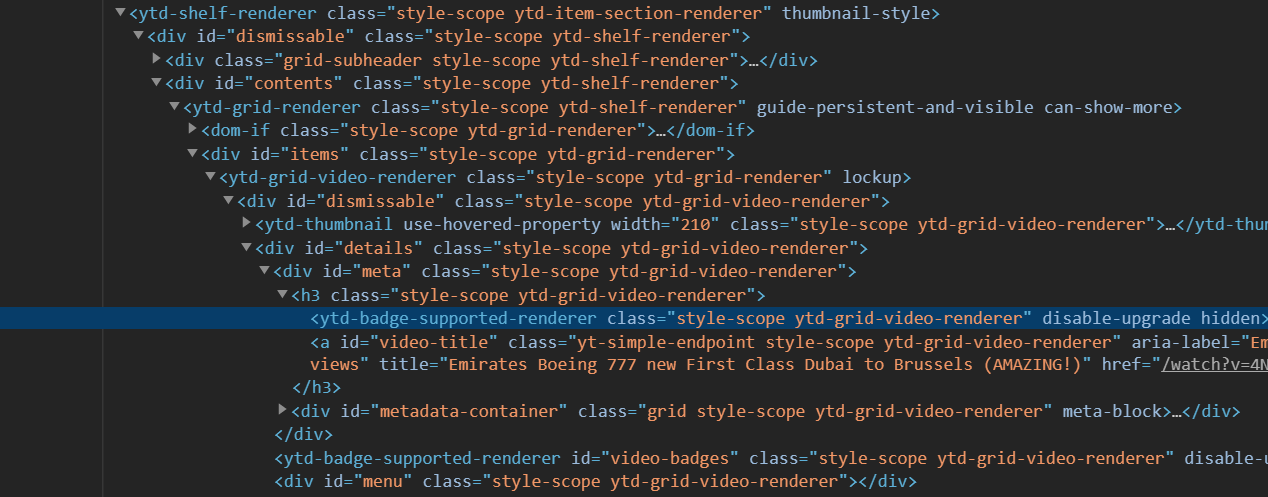
1. YouTube
- Descripción: Utiliza elementos personalizados para dividir las distintas secciones de su página principal en componentes.
- Compatibilidad: En navegadores más antiguos, se carga una versión estándar en HTML.
- Imagen:
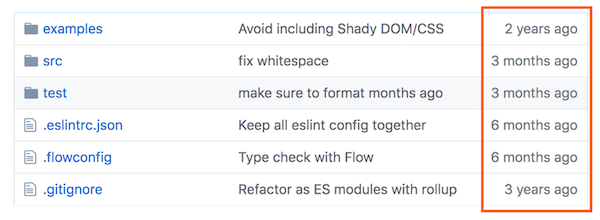
2. GitHub
- Descripción: Usa Web Components en varias partes de su sitio web, basándose en la API de Custom Elements y aplicando estilos globales.
- Mejora progresiva: En navegadores sin soporte para Custom Elements, se muestra un texto alternativo.
- Código abierto: Sus elementos están disponibles en GitHub.
- Imágenes:

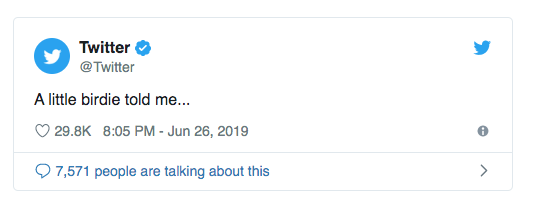
3. Twitter
- Descripción: Emplea Web Components para incrustar tweets, utilizando tanto Custom Elements como Shadow DOM para asegurar un estilo consistente.
- Compatibilidad: En navegadores sin soporte, Twitter recurre a un iframe, aunque esto tiene un costo mayor.
- Imágenes:

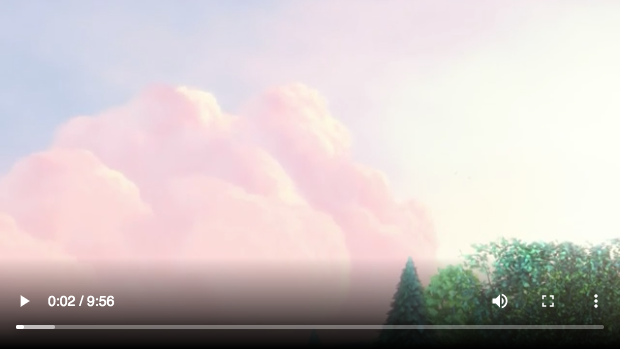
4. Elemento de Video
- Descripción: El elemento
<video> está integrado en el navegador y utiliza Shadow DOM para renderizar la interfaz de usuario de los controles.
- Inspección: Es posible inspeccionar el Shadow DOM de estos elementos en la mayoría de los navegadores tras habilitar una configuración en las herramientas de desarrollo.
- Imágenes:

5.1 Basic Dialog Custom Element
Para crear un diálogo básico, añade un botón de apertura y un botón de cierre al contenido del diálogo. Y luego añade lógica para abrir y cerrar el diálogo.
<!DOCTYPE html>
<html>
  <body>
    <custom-dialog>
      <button class="dialog-btn">Open</button>
      <dialog open>
        <button class="close-btn">🗙</button>
        <h1>Dialog</h1>
        <p>This is a dialog.</p>
      </dialog>
    </custom-dialog>
  </body>
</html>
5.1.1 Custom Dialog Element
Para crear un elemento personalizado, extiende HTMLElement y añade un connectedCallback() para manejar la lógica de apertura y cierre del diálogo.
<!DOCTYPE html>
<html>
<body>
<custom-dialog>
<button class="dialog-btn">Open</button>
<dialog open>
<button class="close-btn">🗙</button>
<h1>Dialog</h1>
<p>This is a dialog.</p>
</dialog>
</custom-dialog>
<style>
.close-btn {
background-color: #f44336;
color: white;
border: none;
cursor: pointer;
padding: 10px 20px;
position: absolute;
right: 0;
top: 0;
}
dialog {
background-color: #ffffff;
border-radius: 4px;
box-shadow: 0 0 10px #00000061;
width: 400px;
padding: 20px;
position: relative;
text-align: center;
}
dialog::backdrop {
background-color: #00000061;
}
</style>
<script>
class CustomDialog extends HTMLElement {
constructor() {
super();
}
connectedCallback() {
this.
}
}
customElements.define('custom-dialog', CustomDialog);
</script>
</body>
</html>
5.1.2 Styling the Dialog
Para añadir estilos al diálogo, utiliza CSS en línea o en un bloque <style> en la página.
6. <Dialog> + <Form> -> (dispatchEvent)
Para crear un diálogo con un formulario, añade un formulario al contenido del diálogo. Luego, añade lógica para enviar los datos del formulario al componente principal.
dispatchEvent:
- Propósito: Permite enviar datos desde un componente personalizado a un componente padre.
- Ejemplo:
this.dispatchEvent(new CustomEvent('submit', { detail: { input: 'value' } }));
- Uso:
- Escucha el evento en el componente padre:
dialog.addEventListener('submit', (event) => {
console.log(event.detail.input);
});
- Código Completo:
<custom-dialog>
<button class="dialog-btn">Open</button>
<dialog>
<button class="close-btn">🗙</button>
<h1>Dialog</h1>
<form>
<label for="input">Input</label>
<input id="input" type="text" />
<button type="submit">Submit</button>
</form>
</dialog>
</custom-dialog>
<style>
.close-btn {
background-color: #f44336;
color: white;
border: none;
cursor: pointer;
padding: 10px 20px;
position: absolute;
right: 0;
top: 0;
}
dialog {
background-color: #ffffff;
border-radius: 4px;
box-shadow: 0 0 10px #00000061;
width: 400px;
padding: 20px;
position: relative;
text-align: center;
}
</style>
<script>
class CustomDialog extends HTMLElement {
constructor() {
super();
}
submit(event) {
event.preventDefault();
const input = this.querySelector('input');
this.dispatchEvent(new CustomEvent('custom-submit', {
detail: { input: input.value }
}));
this.close();
}
close() {
const dialog = this.querySelector('dialog');
dialog.close();
}
connectedCallback() {
const dialogBtn = this.querySelector('.dialog-btn');
const dialog = this.querySelector('dialog');
const closeBtn = this.querySelector('.close-btn');
const form = this.querySelector('form');
const input = this.querySelector('input');
dialogBtn.addEventListener('click', () => {
dialog.showModal();
});
closeBtn.addEventListener('click', () => this.close());
form.addEventListener('submit', event => this.submit(event))
}
}
customElements.define('custom-dialog', CustomDialog);
const customDialog = document.querySelector('custom-dialog');
customDialog.addEventListener('custom-submit', (event) => {
console.log({detail: event.detail});
});
</script>
7. Relative Time Web Component
Para crear un componente de tiempo relativo, añade un elemento de tiempo con un atributo datetime al contenido del componente. Luego, añade lógica para mostrar el tiempo relativo en lugar de la fecha y hora absolutas.
- output:
- Hace 5 minutos
- Hace 1 segundo
- Hace 2 horas
- Hace 3 días
- Hace 1 semana
- Hace 1 mes
- Hace 2 año
<relative-time time="Wed Oct 16 2023 09:17:41 GMT+0200"/>
<script>
class RelativeTime extends HTMLElement {
constructor() {
super();
}
connectedCallback() {
const time = new Date(this.getAttribute('time')).getTime();
const now = Date.now();
console.log({
time,
now,
seconds: (now - time) / 1000,
minutes: (now - time) / (1000 * 60),
hours: Math.floor((now - time) / (1000 * 60 * 60))
})
const diff = now - time;
const seconds = Math.floor(diff / 1000);
const minutes = Math.floor(diff / (1000 * 60));
const hours = Math.floor(diff / (1000 * 60 * 60));
const days = Math.floor(hours / 24);
const months = Math.floor(days / 30);
const years = Math.floor(months / 12);
let aux = '...';
if (months >= 12) {
aux = `Hace ${years} año${years > 1 ? 's' : ''}`
} else if (days > 30 && months >= 1) {
aux = `Hace ${months} mes${months > 1 ? 'es' : ''}`
} else if (days >= 1) {
aux = `Hace ${days} día${days > 1 ? 's' : ''}`
} else if (hours >= 1) {
aux = `Hace ${hours} hora${hours > 1 ? 's' : ''}`
} else if (minutes >= 1) {
aux = `Hace ${minutes} minuto${minutes > 1 ? 's' : ''}`
} else if (seconds >= 1) {
aux = `Hace ${seconds} segundo${seconds > 1 ? 's' : ''}`
}
this.textContent = aux;
}
}
customElements.define('relative-time', RelativeTime);
</script>
Práctica 3: Crear una página de noticias


